
 |
!! Please select country!!
Created: 31 Dec 2007
Last Updated: 3 May 2009
|
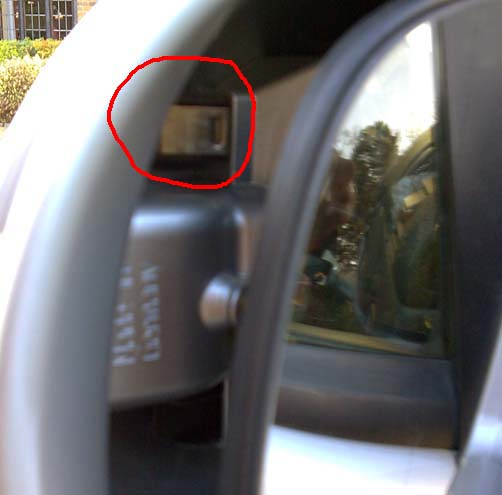
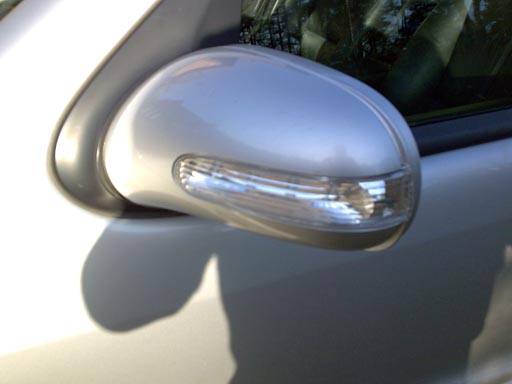
Replacing the indicator in the mirror housing on the Mercedes ML (MY2002 to end of series) takes about 5 minutes. Tools needed: TX10 torx driver, large flat screwdriver. Parts needed: It seems that the mirror housing and indicators were changed for the last few W163 MLs made (MY2005, as the W164 was being released) Instructions: The indicator is held into the external body coloured mirror shell by one TX10 screw. The external body coloured mirror housing is held in place by one clip. Removing the mirror housing is simple. 1) Push the mirror glass in at the door end of the mirror, enabling you to see into the housing at the outside edge of the mirror. You can then see a brass clip (circled in photo below)
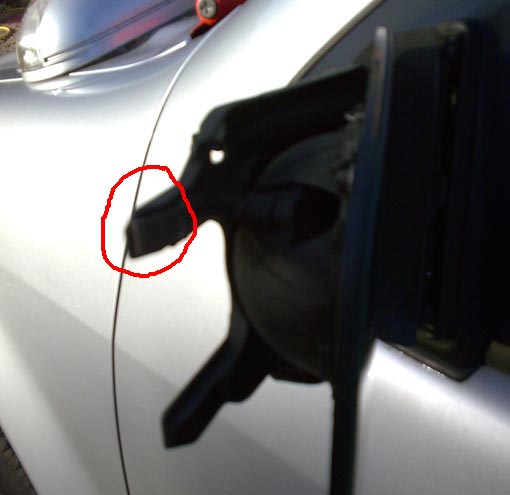
2) Push the clip in on the dimple you can see using a big flat screwdriver- this allows the mirror cover to slide out over that clip. 3) Whilst pushing the dimple on the clip silde the mirror cover off - it slides straight out over the mirror glass. I found it useful to bend the whole mirror in ever so slightly so I could pull with my fingers on the inside edge of the mirror housing (the bit that is normally hidden against the door triangle). Here is a picture of the mirror mechanism after the body coloured cover is removed, you can see the clip that holds onto the cover which is circled in this picture and the one above.
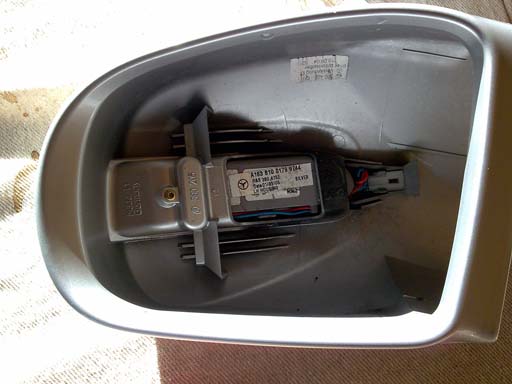
Here is a picture of the cover after it is removed, showing the single screw that holds the flasher unit.
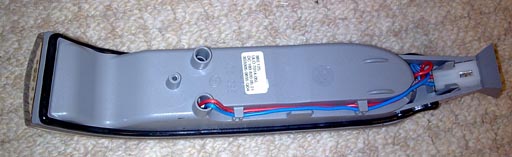
4) Undo the TX10 screw 5) Remove old flasher and put new one on, and re-install the screw. Here is a picture of the rear of the new flasher
6) Push the mirror housing back into place.
All done !
|
If you found this information useful, please support the site by making a donation via Paypal. Any amount at all helps me improve the information on the site. |
Comand Online Ltd - the place to buy Mercedes iPod kits, phone kits, retrofit parts & map disks MY AUTOCAR - THE BEST PLACE TO TALK CARS |